


Let's be honest: at some point, everyone has had a jar of store-bought chocolate hazelnut spread sitting in their pantry. The problem is what's actually in it — 56% sugar, palm oil, and a mere 13% hazelnuts. The rest is powdered milk, lean cocoa, and flavorings. When a 400 g (14 oz) jar sells for €4 to €5, you start wondering where the hazelnut actually went.
The good news is that a homemade spread is simple, takes 20 minutes, and the taste is in a completely different league. 50% hazelnuts or more, a good couverture chocolate, zero additives. We're giving you the definitive recipe — with the real homemade praliné behind it, the kind that changes everything.
The real difference between homemade and industrial chocolate spread
A worthy chocolate spread starts with a praliné paste (caramelized nuts ground into a smooth paste) blended with melted chocolate and sometimes a touch of powdered milk or cocoa butter for texture. That's it.
In mass-produced versions, the praliné is replaced by palm oil (cheaper, more shelf-stable), the hazelnut percentage plummets, and the gap is filled with sugar and flavorings. The result: an overly sweet product where lean cocoa and powdered milk dominate, and the hazelnut is little more than a footnote.
The homemade version flips those proportions entirely. 50 to 60% real nuts, a couverture chocolate ranging from 40% to 70% cacao, a little sugar, and nothing else. The flavor is exponentially deeper, rounder, and genuinely nutty. And as a bonus, you know exactly what you're eating.
The ingredients that make the difference
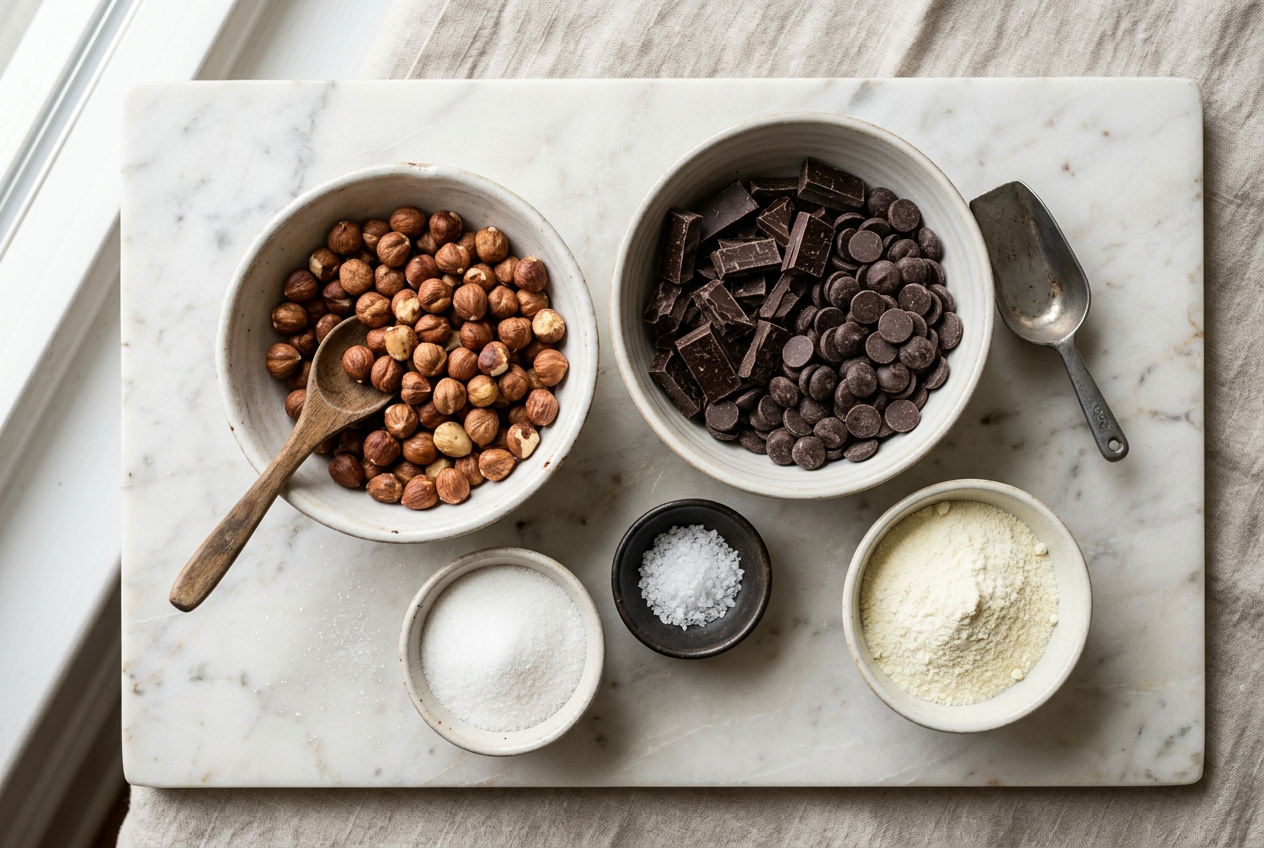
The nuts
The quality of your praliné depends on the hazelnuts you choose. Piedmont hazelnuts (IGP Nocciola Piemonte) are widely considered the finest in the world — exceptional fragrance, lingering finish, and ideal texture after roasting. If you can't source them, good-quality French or Turkish hazelnuts work very well.
For a balanced spread, we go with a 50% hazelnuts / 50% almonds blend, or 100% hazelnuts for a more intense version. Whole skin-on hazelnuts and almonds are ideal — the skins add character.
The chocolate
For a classic milk chocolate version, a Valrhona Jivara 40% or a Cacao Barry Alunga 41% delivers perfect roundness and melt-in-the-mouth texture. For a more grown-up dark version, a Valrhona Guanaja 70% or a Weiss Nephelys 70% brings real intensity.
Those accustomed to the Nutella profile will find the milk chocolate version the most familiar. More discerning palates will lean toward the dark.
Powdered milk (optional)
A few spoonfuls of whole milk powder soften the texture and add that recognizable milky roundness. Optional, but it's part of the DNA of a great chocolate spread.
Sugar and fleur de sel
Granulated sugar to caramelize the nuts — that's your praliné. A pinch of fleur de sel to lift all the aromas. Non-negotiable.
Step-by-step recipe (makes one 350 g / 12 oz jar)
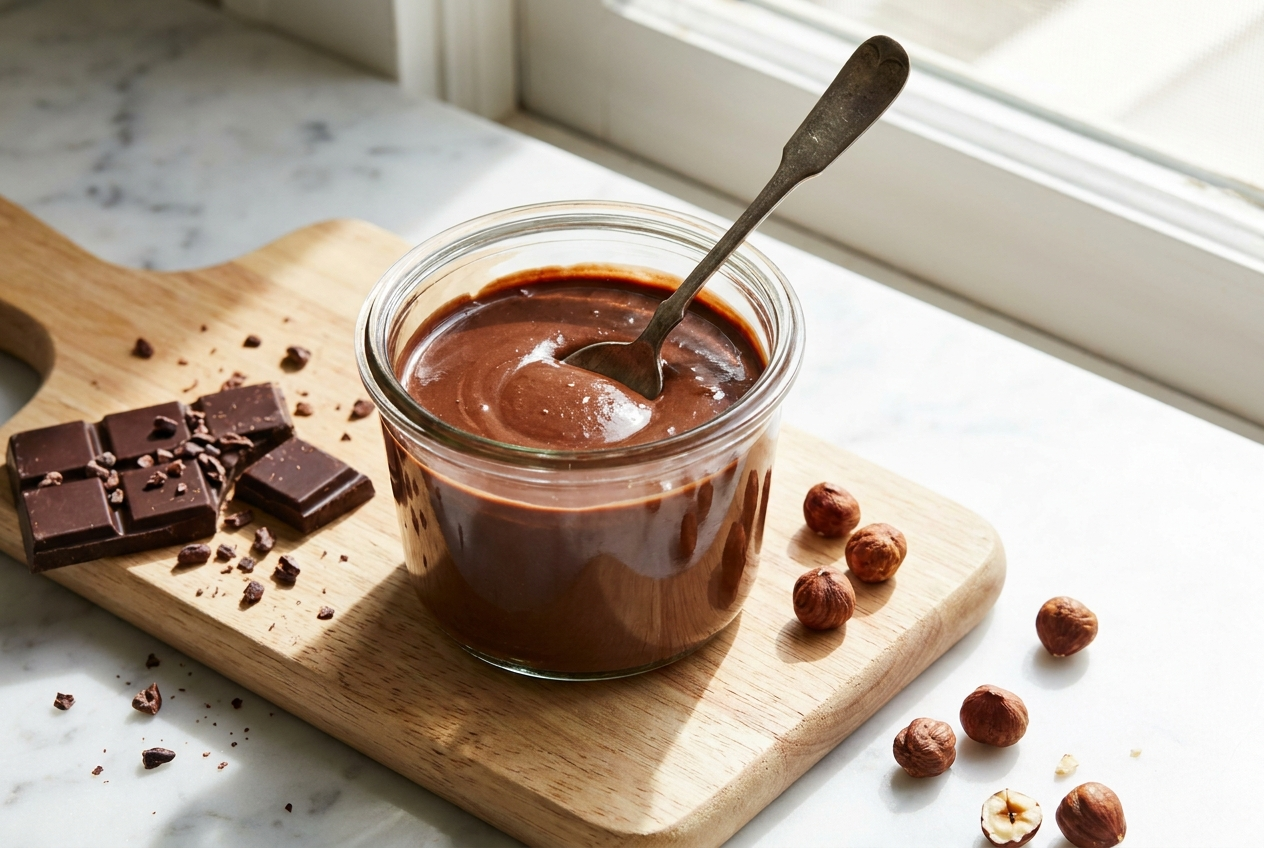





Method
Step 1
Toast the nuts
Preheat the oven to 300°F (150°C). Spread the hazelnuts and almonds on separate baking sheets — they don't roast at the same rate. Allow 12 to 15 minutes for hazelnuts, 10 to 12 minutes for almonds. They should be golden all the way through, not just on the surface. Once the hazelnuts are roasted, rub them vigorously in a clean kitchen towel to remove as much skin as possible — this step is essential, as the skins contribute bitterness and a gritty texture.
Step 2
Make the caramel
Combine the sugar and water in a heavy-bottomed saucepan. Bring to a boil without stirring and cook until the syrup reaches 356°F (180°C) — a deep amber caramel. Without a thermometer, look for a rich golden-brown color and the unmistakable scent of caramel.
Step 3
Make the praliné
Tip all the toasted nuts into the caramel at once. Stir quickly with a spatula to coat them evenly. Immediately spread the mixture onto a baking sheet lined with parchment paper or a Silpat mat. Allow to cool completely (at least 30 minutes) — the slab should be completely hard to the touch.
Step 4
Grind the praline slab
Break the slab into pieces, transfer to a powerful food processor (Thermomix, Magimix, Robot Coupe) and blitz in pulses, stopping every 2 minutes to scrape down the sides. Don't be afraid to push through — under-processed praliné will always stay gritty. The grinding goes through three distinct stages: - 1 to 2 minutes: chunks become a coarse powder - 3 to 5 minutes: the powder turns into a grainy paste as the oils release - 7 to 10 minutes: the paste becomes fluid and glossy — your praliné is ready
Step 5
Add the chocolate
Melt the couverture chocolate in a bain-marie (double boiler) to 104–113°F (40–45°C). Pour it into the still-warm praliné, then add the milk powder, fleur de sel, and hazelnut oil if the mixture seems too thick. Blend for another 30 seconds to achieve a perfectly smooth consistency.
Step 6
Jar it up
Pour into a clean glass jar. Allow to cool to room temperature, then store at room temperature — not in the refrigerator. The cold solidifies the oils and turns the texture waxy and stiff.
Three variations genuinely worth trying
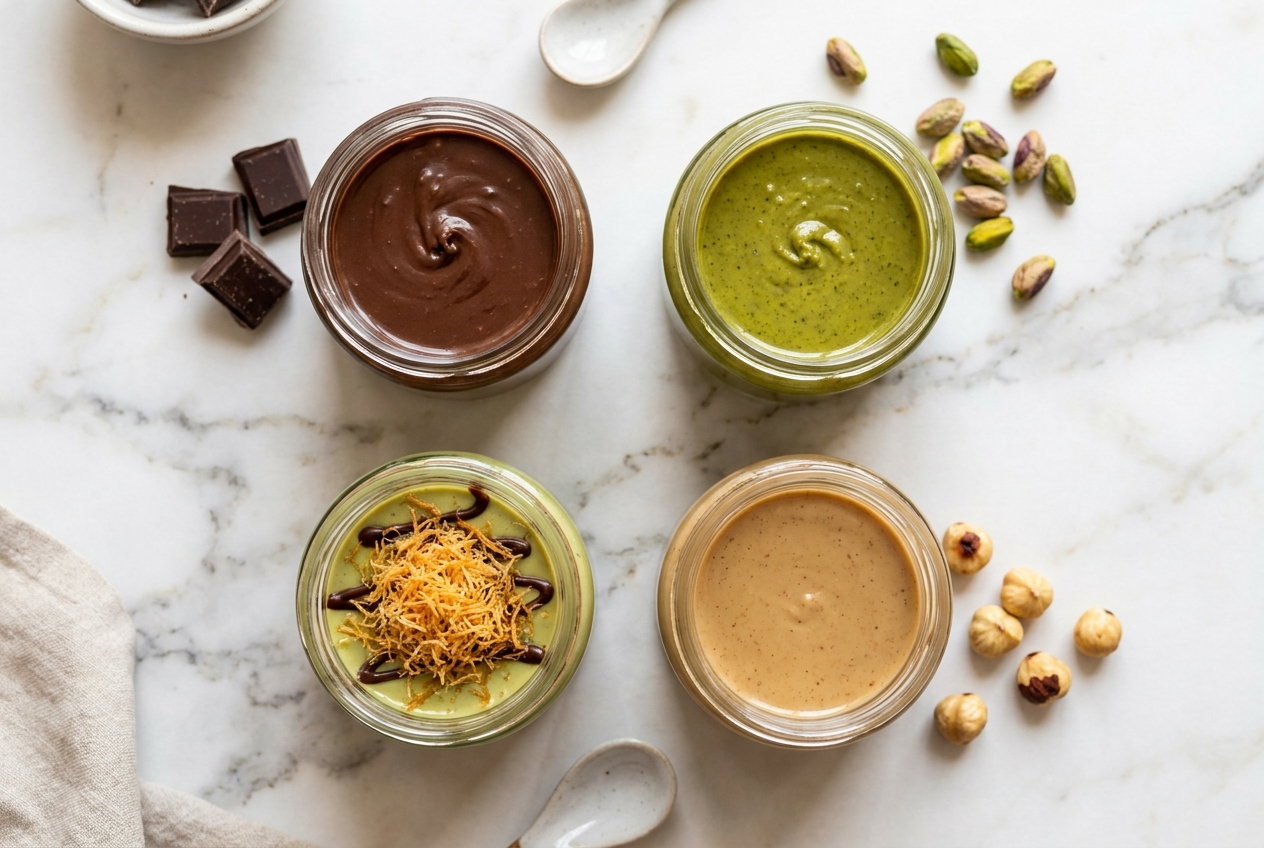
Intense dark chocolate
Swap the Jivara for Valrhona Guanaja 70%. More bitter, less sweet, unmistakably adult. Skip the milk powder. This is the version that converts anyone who finds classic spreads too sugary.
Pistachio-chocolate (Dubai-style)
Replace 100 g of hazelnuts with 100 g of Sicilian green pistachios. Keep the milk chocolate. You get the spread that most closely resembles the Dubai chocolate filling in a spreadable version.
Pure hazelnut (gianduja-style)
100% hazelnuts, 30% sugar, 30% milk chocolate. No milk powder. This is the version closest to traditional Italian gianduja. Extraordinary on a still-warm brioche.
Mistakes to avoid
- Skipping the skin removal on the hazelnuts. This is the number one cause of unwanted bitterness.
- Stopping the blending too soon. If your spread is grainy, keep going. It will eventually turn fluid — trust the process.
- Using too powerful a chocolate. A 70% bar packs a punch — if you're new to this, dial back the quantity, or the spread will turn bitter.
- Refrigerating the spread. Store it at room temperature in an airtight jar. In the fridge, it sets like concrete.
- Leaving out the fleur de sel. A spread without salt tastes flat. That one pinch makes all the difference.
Storage and yields
Homemade chocolate spread keeps for 2 to 3 weeks at room temperature in an airtight glass jar. It may firm up slightly over time — a 10-second burst in the microwave will restore the texture.
Budget roughly €6 to €8 for a homemade 350 g jar, compared to €4–5 for the industrial version. Not cheaper, but you're comparing 50% real nuts to 13%. The math speaks for itself.
Where to find the ingredients
At G. Detou, 58 rue Tiquetonne (Paris 2nd arrondissement), we carry everything you need:
- Whole hazelnuts and almonds unblanched, pastry quality
- Valrhona, Barry, Weiss couverture chocolate in suitable package sizes
- Fleur de sel de Guérande
- Hazelnut oil for adjusting texture
In store or online, we're happy to guide you through the options. If you're torn between two chocolates, just ask — it's one of our favorite conversations.
G. Detou's take
A jar of commercial Nutella is 13% hazelnuts and 56% sugar. A homemade spread made with our praliné flips those numbers: 50% real nuts (half Piedmont hazelnuts, half almonds), 30% sugar, 15% chocolate. The cost is higher — around €8 a jar versus €4 — but 250 g of praliné from rue Tiquetonne will last you three weeks. The real difference? Your homemade jar smells like roasted hazelnuts. Not sugar. Not palm oil. Hazelnuts.
FAQ — Homemade chocolate spread
2 to 3 weeks at room temperature in an airtight glass jar. Without preservatives, it stays fresh thanks to the absence of water — no moisture means no microbial growth.
Insufficient blending. Keep going for another 3 to 5 minutes, scraping down the sides regularly. The paste should become fluid and glossy.
Not easily. A standard blender can produce an acceptable but grainy result. For a perfectly smooth spread, you'll need a Thermomix, a powerful Magimix, or a Robot Coupe. Otherwise, take a shortcut: we also sell ready-to-use hazelnut paste and praliné.
Yes, from around age 8–10 with an adult supervising the hot steps (caramel, roasted nuts, melted chocolate). Kids love watching the praliné transform during blending.
Yes. Nutella: 56% sugar. This recipe: around 28%. And the sugar here comes primarily from the praliné — meaning it's caramelized, which translates to a more aromatic sweetness rather than straight sugar.
It loosens the paste when the praliné releases little oil on its own — which depends on how fresh your hazelnuts are. It's optional: only add it if the texture seems too thick after blending.
You can, but it's a shame: couverture chocolate has a higher cocoa butter content and a far superior melt. If you do use bar chocolate, go for a quality baking chocolate at minimum — not a milk chocolate bar meant for snacking.
Once you've tasted a truly homemade spread, going back to the store-bought version becomes difficult. The upside is that this recipe uses exactly the products we love to introduce people to: Piedmont hazelnuts, couverture chocolates, fleur de sel — and that's all it takes.
To go further, take a look at our homemade praliné recipe
To go further: browse our full Dried Fruits & Snacking selection.